 Aureole
Help center›Get started
Install Aureole
Aureole installs like any other Mac app. On first launch, its welcome screens take you through four steps: you choose your models, grant Accessibility, try the shortcut, then open your first conversation. The trial lasts fourteen days, with no sign-up and no credit card.
- Drag Aureole into the Applications folder, then launch it.
- During the welcome screens, connect Aureole to a model and grant “Accessibility”: those are the two settings that matter.
- The other permissions are only requested when an action needs them.
- With its window closed, Aureole stays in the menu bar: ⌥Space or its icon brings you back.
Before you start
You need a Mac running macOS 15 or later. There’s no Aureole account to create: Aureole doesn’t use one.
The steps
Download Aureole
Go to the download page. You get a DMG file: a disk image, which the Finder opens like a USB drive.
Drag Aureole into Applications
In the window that opens, drag the Aureole icon onto the Applications folder. Once the copy is done, you can eject the disk image.
Follow the welcome screens
Launch Aureole from the Applications folder or from Spotlight. Its welcome screens open on a first screen, then take you through four steps. A screen that’s already taken care of is skipped: if Aureole already finds a key or a model on your Mac, you won’t see the models screen; if Accessibility is already granted, you won’t see the access screen.
- Screen 1 of 5
The first screen
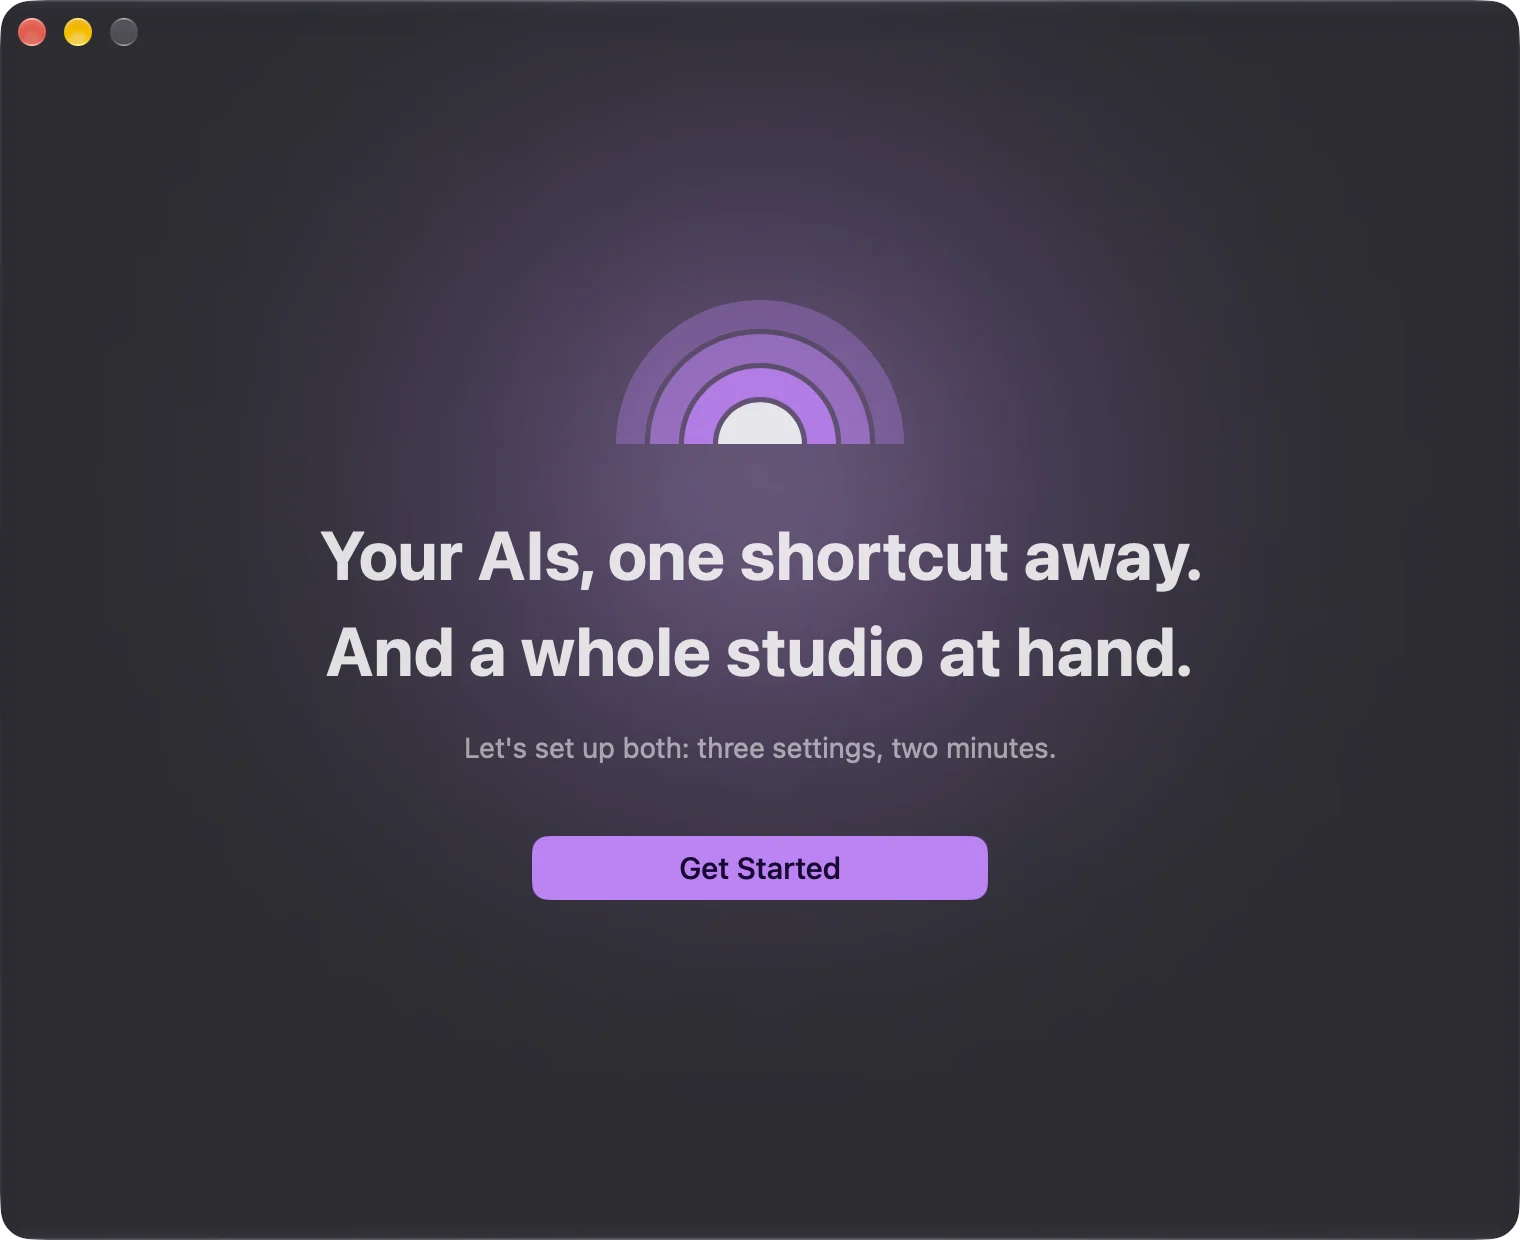
Aureole’s symbol rises over a horizon, then two lines and a button appear. There’s nothing to set: click “Get Started”.
- Screen 2 of 5
“Choose your models”
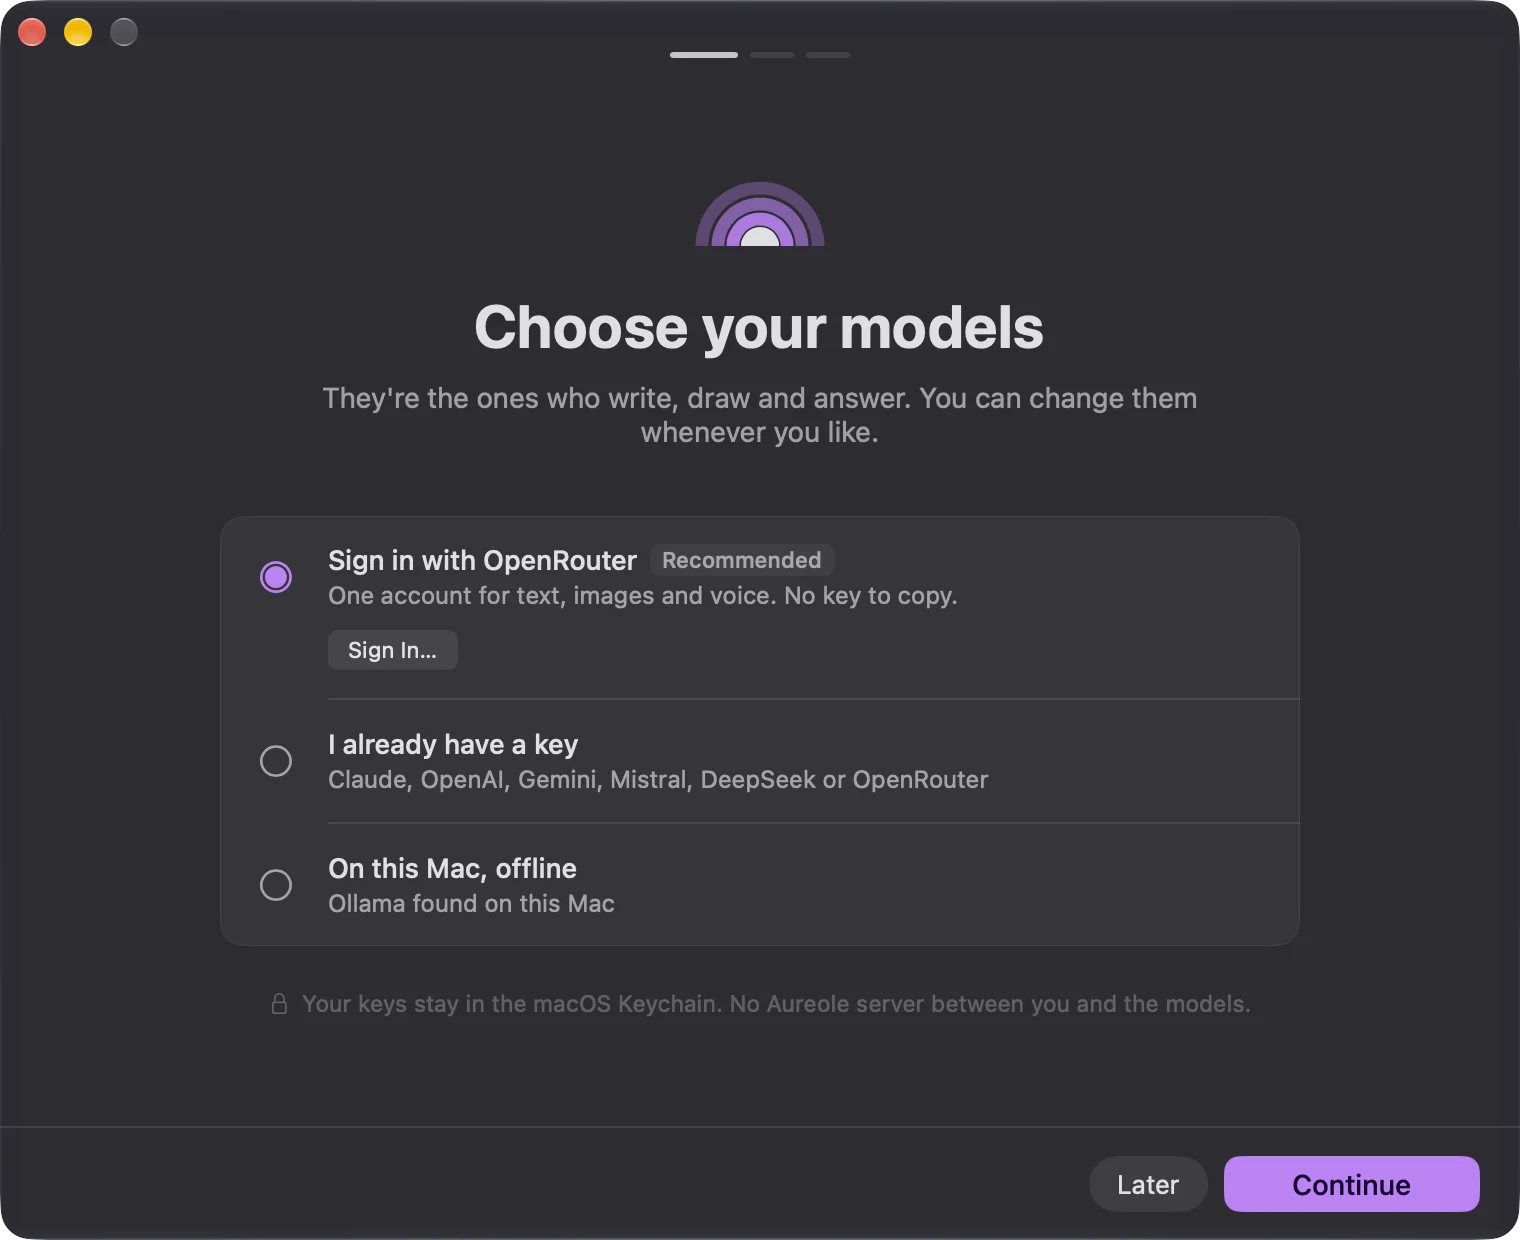
Models are the AIs that answer your requests: without at least one model, Aureole can’t answer anything. The simplest option is “Sign in with OpenRouter”: click “Sign In…”, then authorize Aureole on the page that opens in your browser. There’s no key to copy; back in the welcome screens, the row shows “Connected”. Already have an API key from Claude, OpenAI, Gemini, Mistral, DeepSeek or OpenRouter? Choose “I already have a key” instead, select the provider, paste the key, then press Return: Aureole tests it, and a message confirms that the connection is operational. The “On this Mac, offline” row only appears if Ollama or LM Studio is running on your Mac: choose it to use a model installed on your Mac, with nothing leaving it. Then click “Continue”. No account or key yet? “Later” skips this screen; the API key guide explains how to get one.
- Screen 3 of 5
“Aureole, in all your apps”
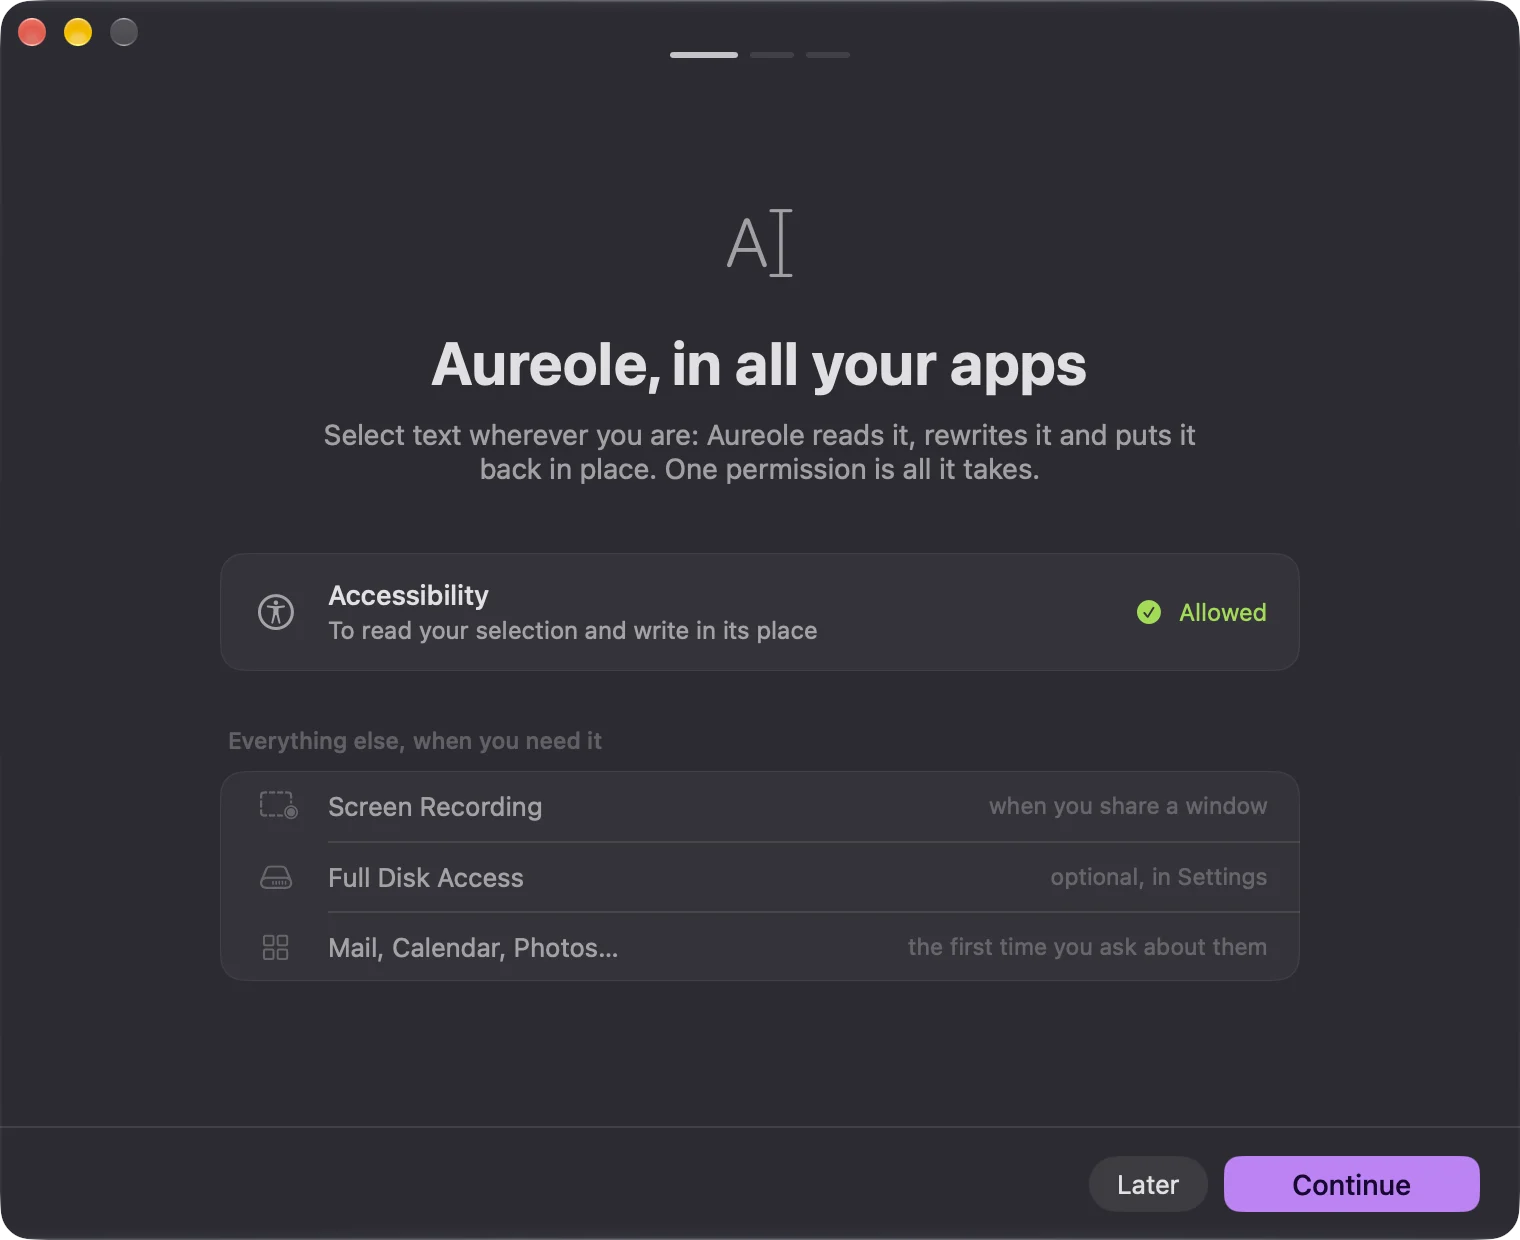
This screen asks for a single permission, “Accessibility”: it’s what lets Aureole read the text you select in another app, and write in its place. Click “Authorize”; macOS then asks for your consent in System Settings: turn Aureole on there, then come back to the welcome screens. The row shows “Allowed”, without you having to click again. The other permissions, listed below, have no button: macOS will ask for them the first time an action needs them, and “Full Disk Access” stays optional. Then click “Continue”.
- Screen 4 of 5
“One gesture to call it up”
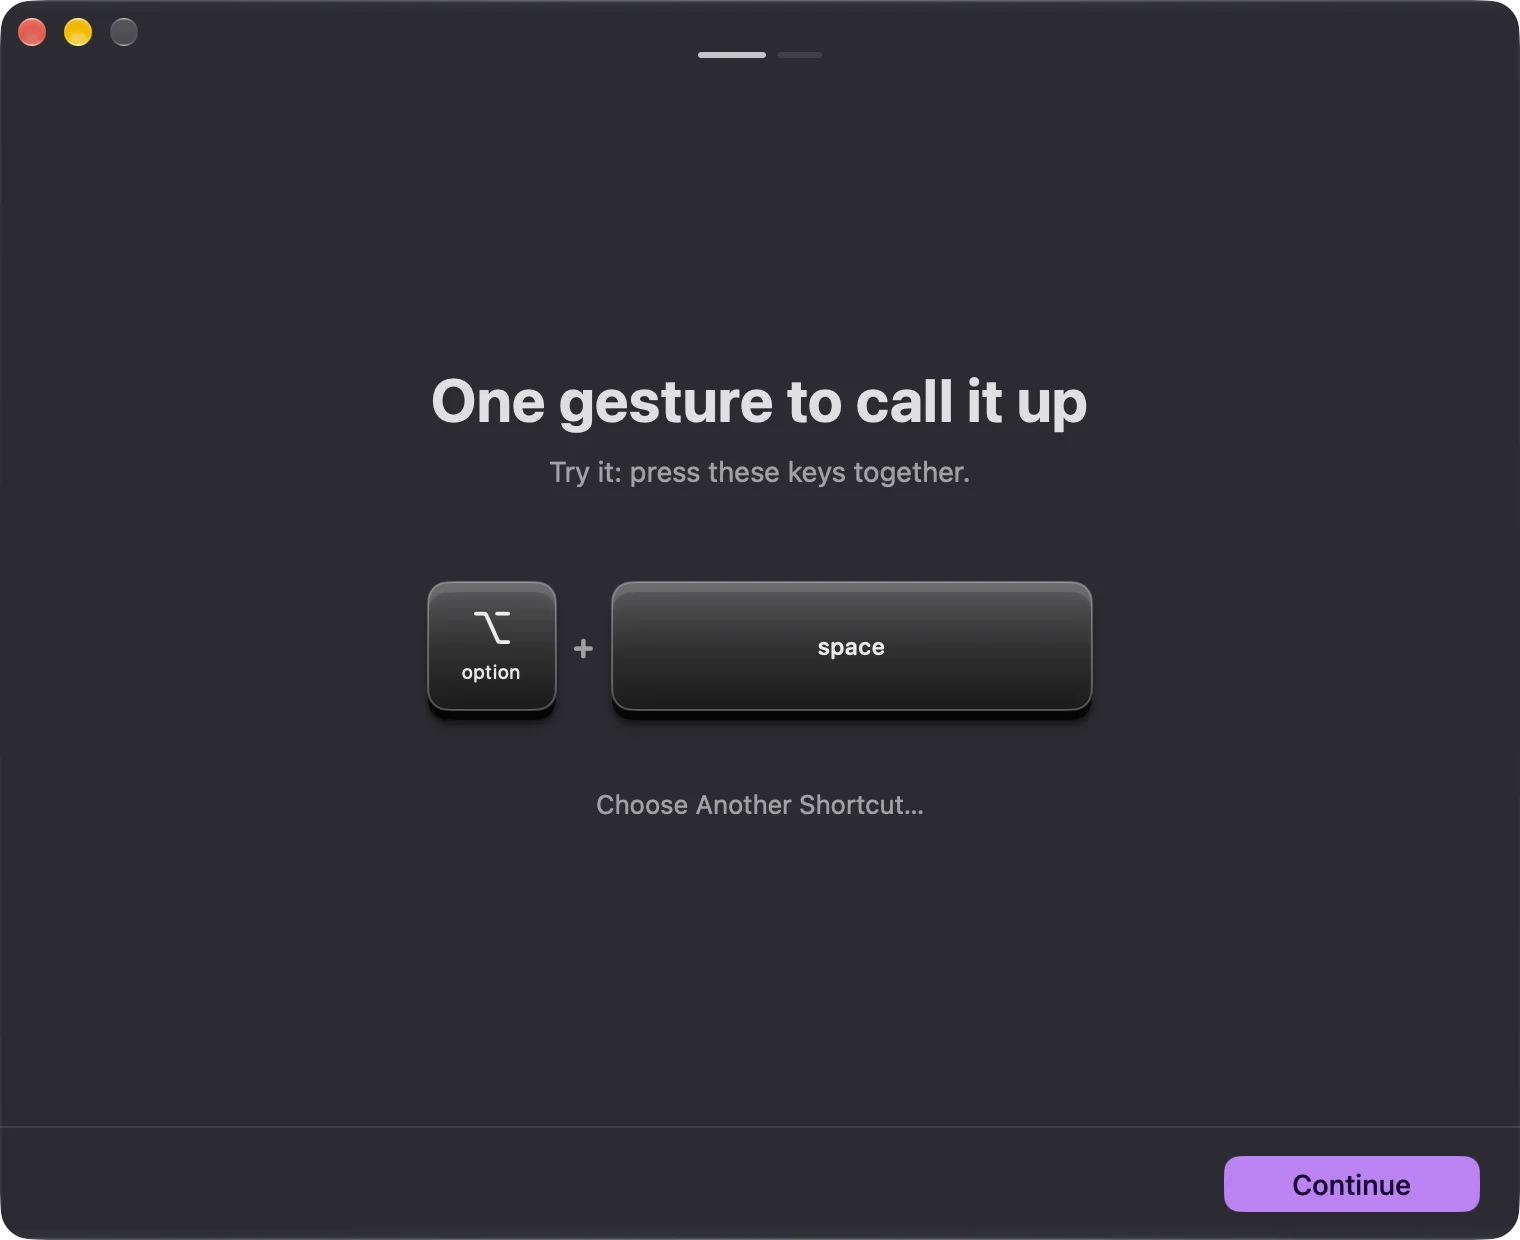
Press ⌥Space together: a preview of the Aureole Bar appears below the keys. That’s what this shortcut will open from now on, from any app. To choose another one, click “Choose Another Shortcut…”, then press the combination you want. Then click “Continue”.
- Screen 5 of 5
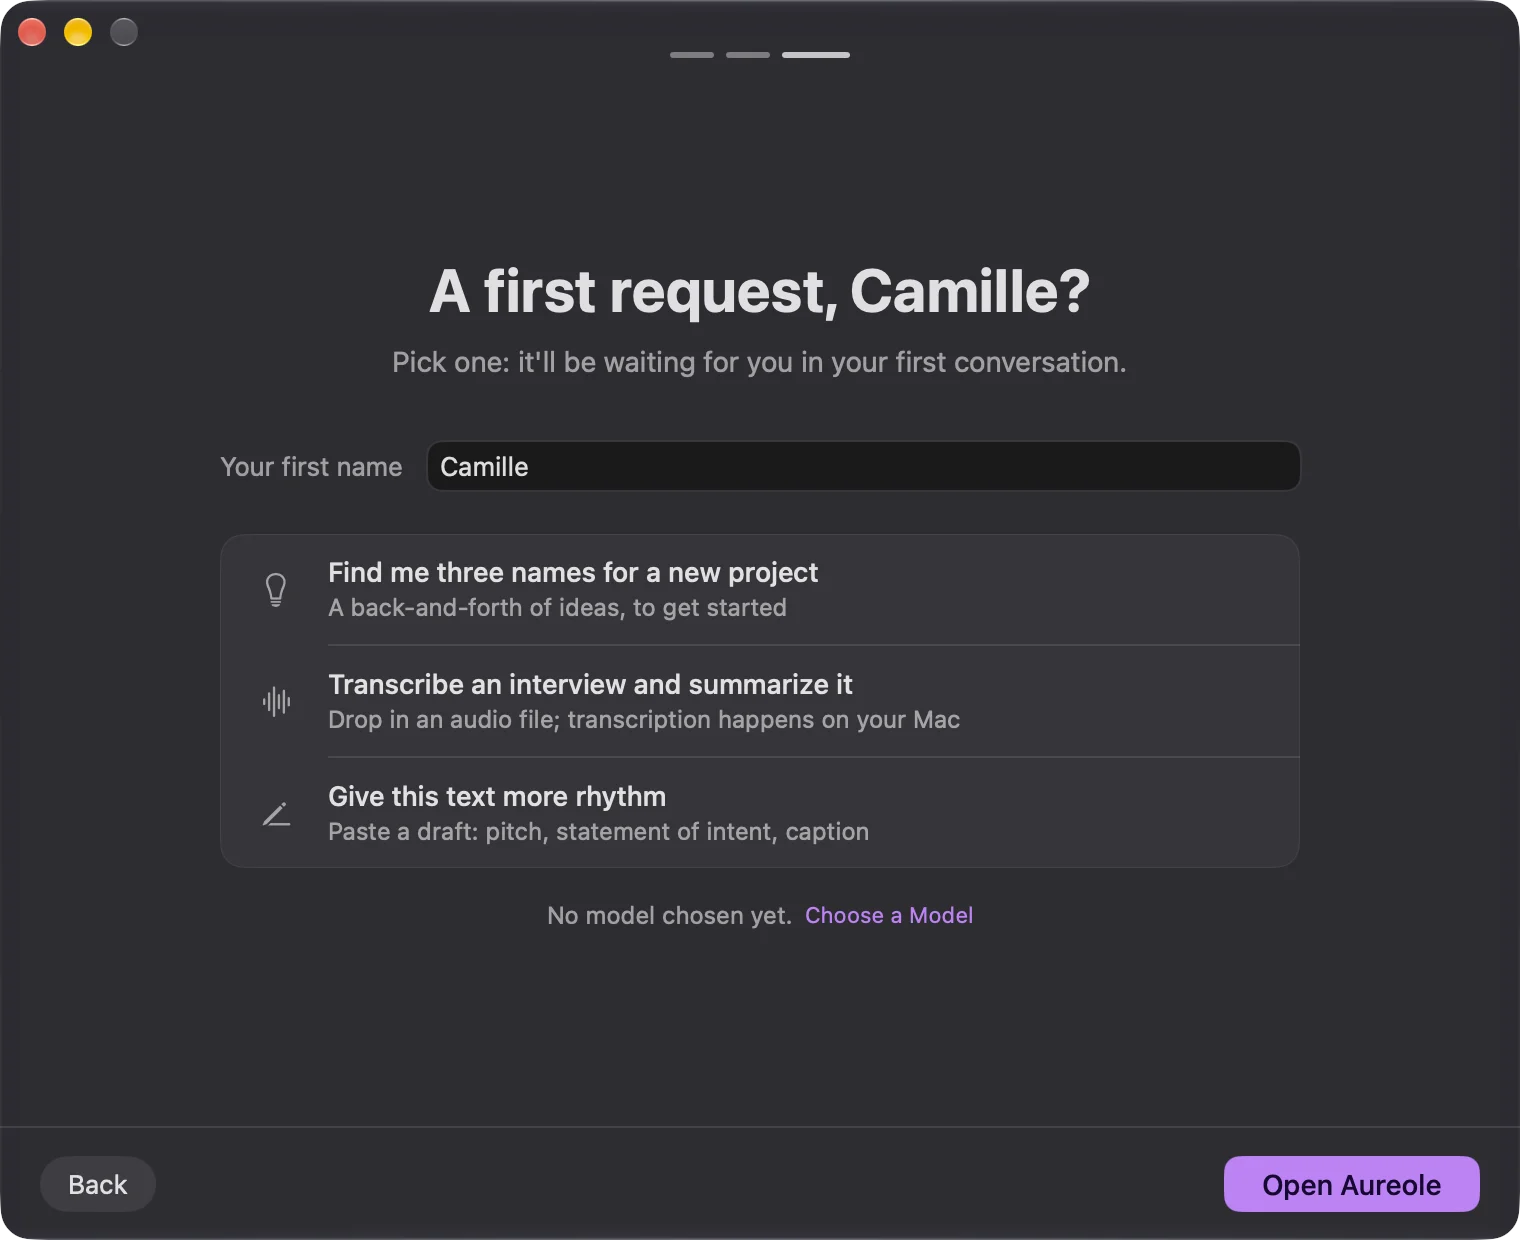
“A first request?”
If you like, type your first name in the “Your first name” field: Aureole will use it to address you, and the screen’s title picks it up right away. Then choose one of the three suggested requests, or none, and click “Open Aureole”. The Aureole window opens on your first conversation, with the request you chose already written in the input field. It isn’t sent: read it over, add what it needs (an audio file, a draft), then send it. The first of the three depends on your models: an image if one of them can create images, otherwise ideas for names.
Find Aureole in the menu bar
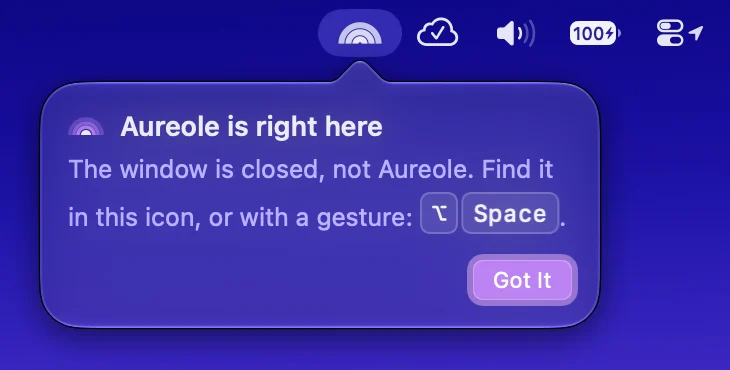
Closing Aureole’s window doesn’t quit it: it stays in the menu bar, at the top right of the screen, under its icon , and leaves the Dock. The first time you close its window, a bubble, “Aureole is right here”, points to the icon. Click “Got It” to close it.
Two ways then bring you back to it. ⌥Space opens the Aureole Bar over the app you’re in. The menu bar icon opens its menu, where “Open Aureole” reopens its window.
Fourteen-day trial. During the trial, every feature is available, with no sign-up and no credit card. It starts at first launch.
If you’re stuck
I skipped the models screen
That’s not a problem: you can connect a model at any time in Settings›Providers. The API key guide walks you through it. While you’re still in the welcome screens, the last one shows “No model chosen yet.”: the “Choose a Model” button next to it takes you back to the models screen.
Signing in to OpenRouter didn’t complete
If you closed the browser page without authorizing Aureole, the screen says so, and the “Sign In…” button comes back: click it to try again. You can also choose “I already have a key”, or connect OpenRouter later in Settings›Providers.
I don’t see the “On this Mac, offline” row
It only appears if Ollama or LM Studio is running on your Mac, with at least one chat model installed. Launch it, then come back to this screen. You can also connect it later in Settings›Providers.
The welcome screens didn’t show the models screen, or the Accessibility one
That’s normal: a screen that’s already taken care of is skipped. That happens when Aureole has already been installed on this Mac, or when it finds a model there.
I need “Full Disk Access”
It’s optional, and only needed for some content, such as Messages conversations. macOS doesn’t let any app ask for it: grant it yourself in System Settings›Privacy & Security›Full Disk Access, then relaunch Aureole.
I want to change the shortcut
Open Settings›General: the shortcut is set in the Shortcuts section.
Something missing from this guide? Tell us.